Using Toolcraft to design a WebGL image carousel directly in an AI company’s website
The story of how Pixel Point designed a landing page for Recraft’s new model in just seven days.
Start from this app
Run the CLI. Paste the copied command into your terminal.
Name your project. Choose a name, then let the CLI install the app and its dependencies.
Start building. Open the generated project and make it your own.

Recraft is an AI image generation service and AI lab with its own state-of-the-art models. They reached out to us at Pixel Point a week before releasing their new model, v4 Styles, which introduced a new level of style consistency in image generation from a single reference image. They wanted us to design and develop a dedicated landing page for the model that would also work as a product demo.
We didn't want to build a boring landing page, but creating something special in just seven days was a challenge. It was clear that we'd have to cut unnecessary steps from our design process to make it work. So we decided to use Figma just as a sketchpad for rough ideas and a place to collect references.
We started by gathering references for the hero section. Our main assets were, of course, images generated with Recraft's new model, and the team had provided plenty of them. So we began looking at how other websites used image galleries in their hero sections and found a few interesting ideas.
We knew the hero needed a short headline, a description, and a CTA, but there was no way to efficiently experiment with all those gallery ideas in Figma. Look at the references we found. How would you arrange batches of images in Figma, maybe even in 3D space, and quickly experiment with image sizes, gaps, animation effects, or WebGL shaders? It was obvious that this was a perfect task for a mini app built with Toolcraft.
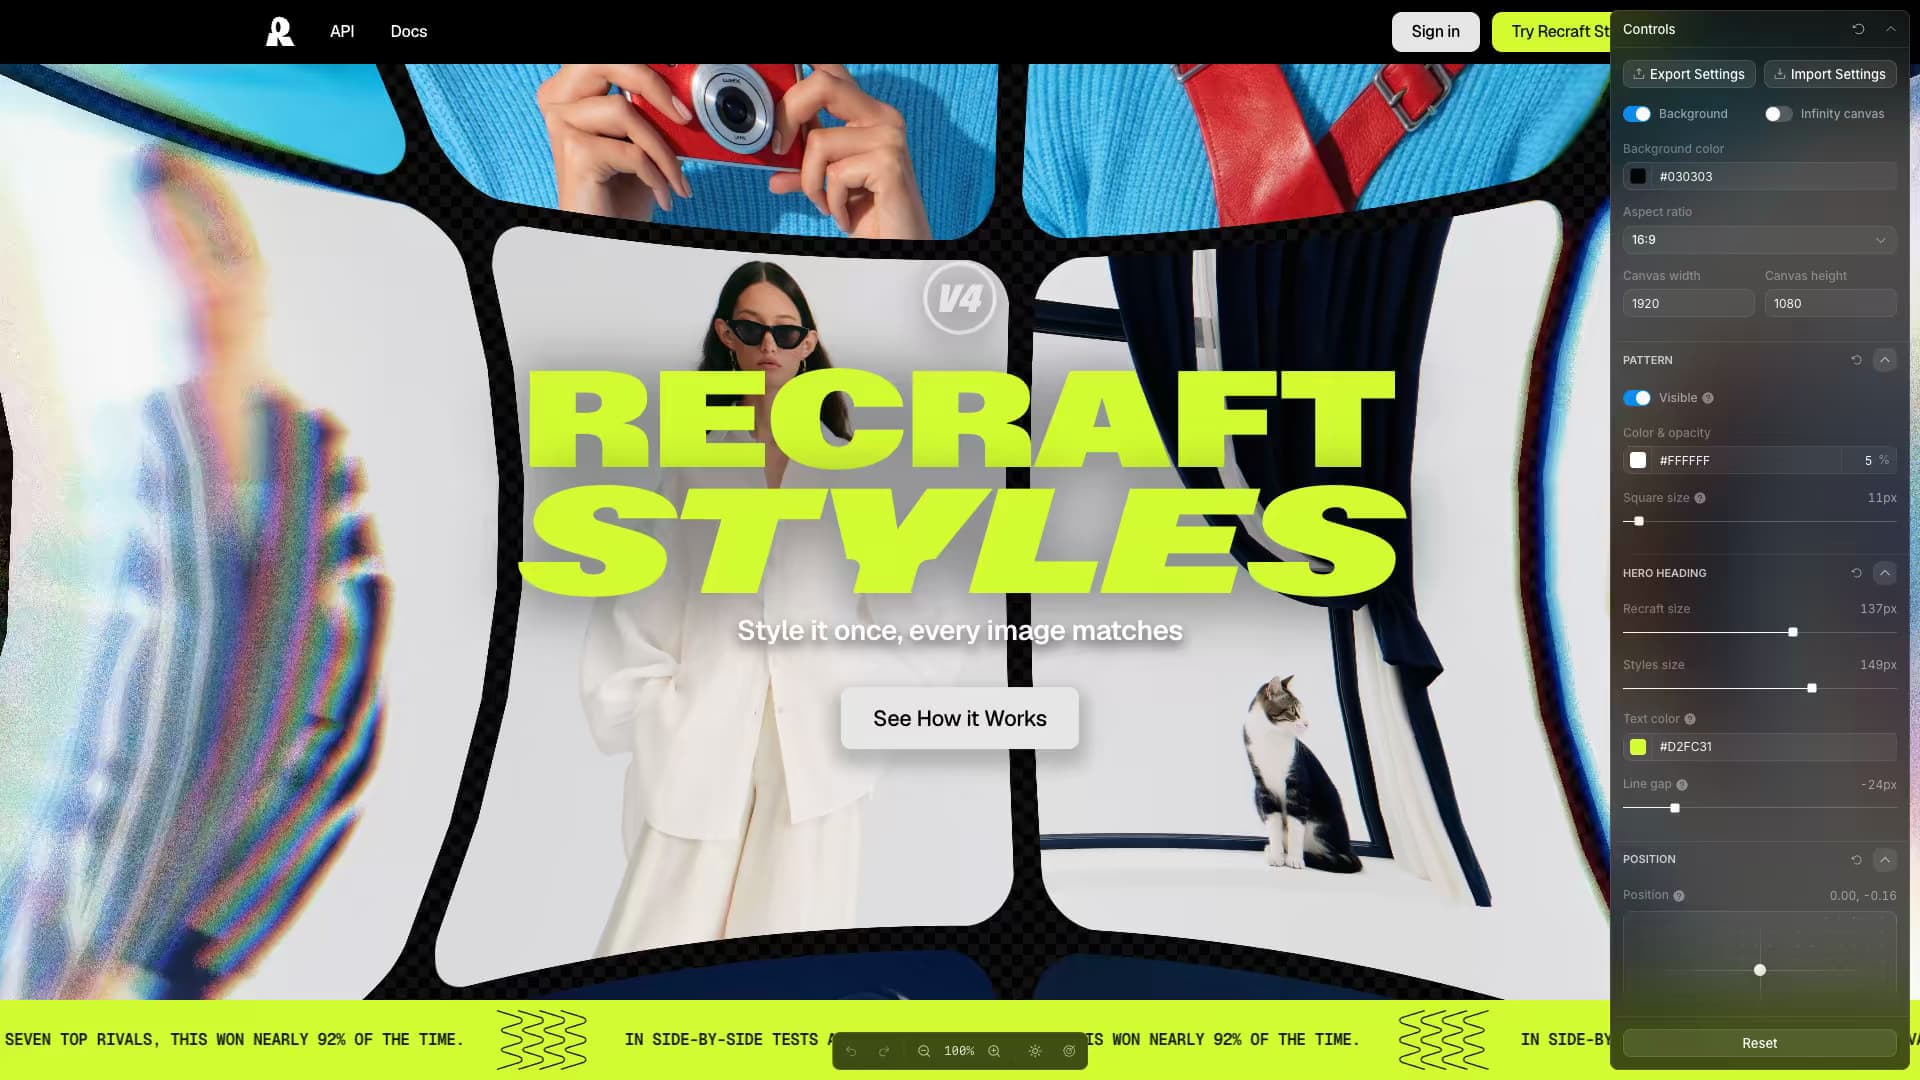
With such a short timeline, we decided to use Toolcraft directly within the website project that was already in development. That meant building in the same repository and using the same stack, so there would be no need to transfer the solution later. Toolcraft rendered the website's hero section in an iframe, with controls that let us experiment with the design. We even asked AI to add an Apply button that saved the values from those controls directly to a source file in the website project. Once we were happy with the result, we could click Apply to bring those settings into the website without any additional handoff.
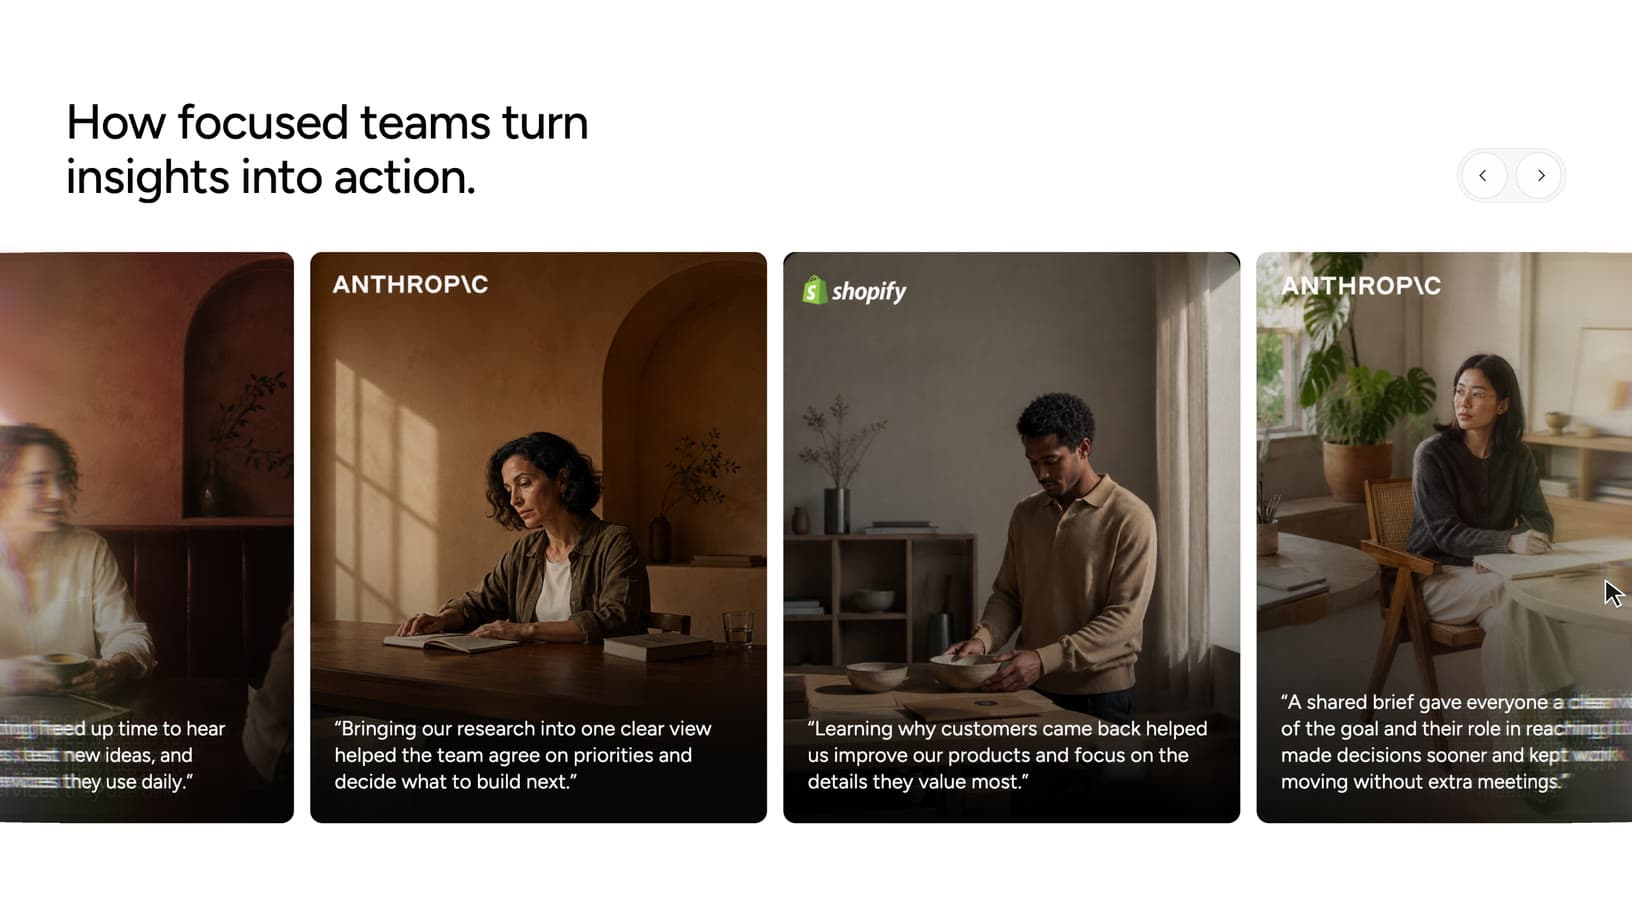
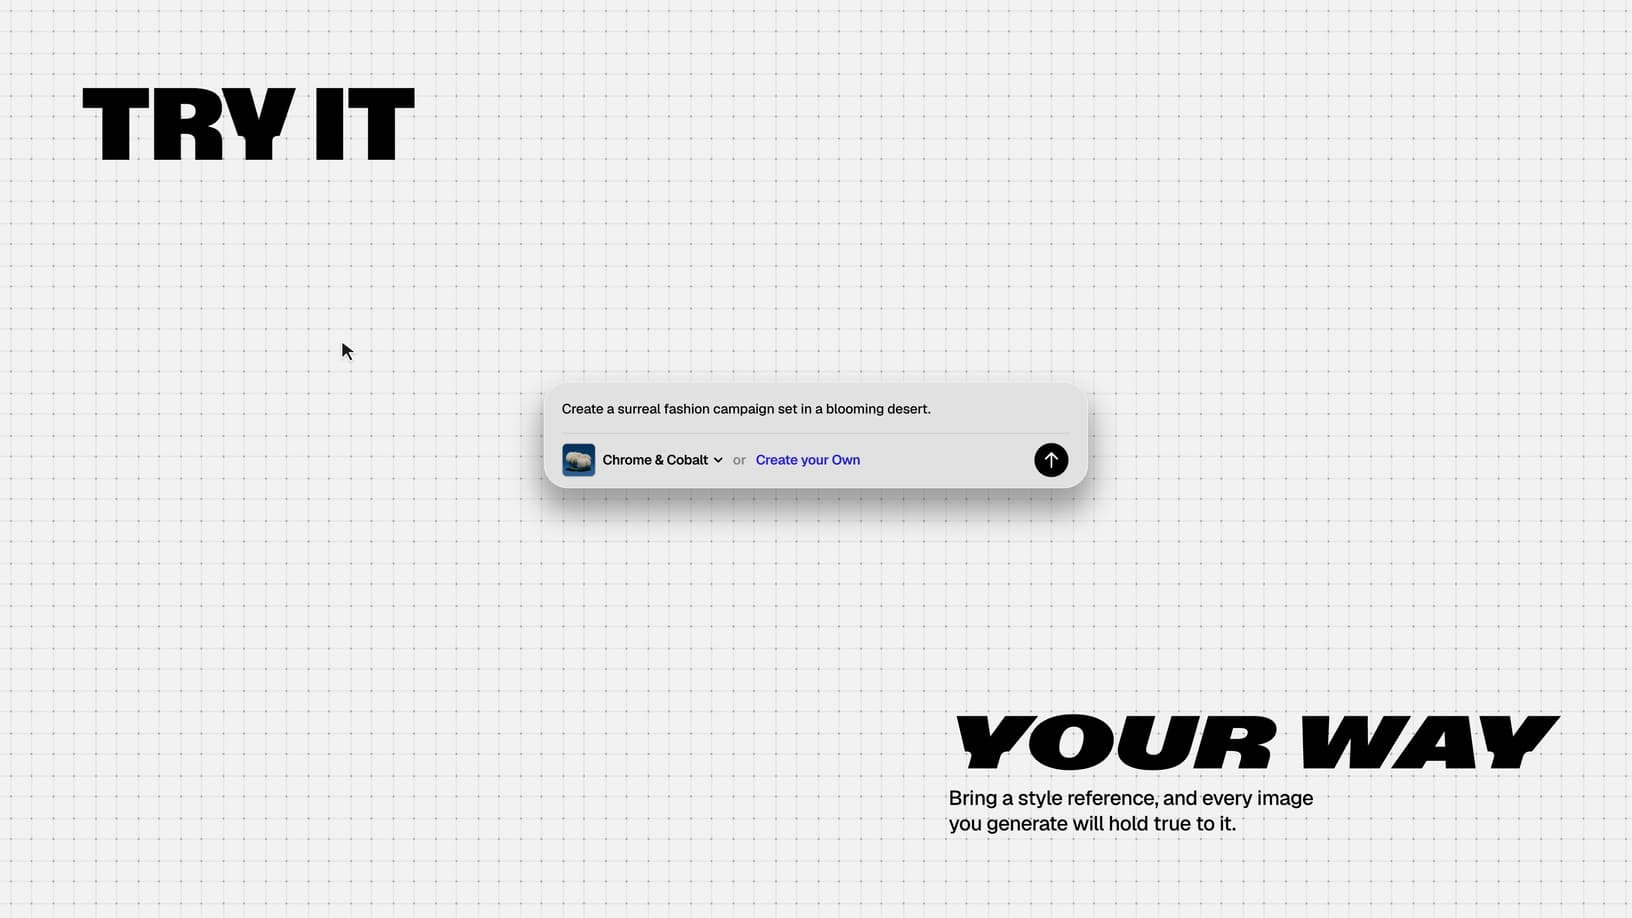
From a design perspective, we imagined the gallery as something between the Melius and TwelveLabs references.
We started by creating a new app with the Toolcraft CLI:
Our initial prompt for Toolcraft looked like this:
Initial prompt:
We’ll be building an image carousel for the website’s hero section. I want to use Toolcraft to control the actual components in the website code at [folder path], with that section displayed through an iframe on Toolcraft’s canvas.
I need to be able to upload multiple images and arrange them in a carousel with multiple rows moving left and right. The images should look like they’re wrapping around a sphere, with controls to adjust the strength of that effect.
Think through which controls would be useful and include plenty of them, so I can experiment with the design and composition myself. Also add controls for the position and styling of the hero headline, description, and CTA, since I’ll be experimenting with how everything works together.
We got decent results from the first prompt and kept iterating. A few weeks earlier, we’d built a WebGL dispersion effect for another project, Aura Carousel, and decided to try something similar here. We asked AI to bring the effect and its controls into our app and apply it to the edges of the hero section. Then we added a variation of the effect during the carousel’s automatic repositioning and when users dragged it.
The whole section took two days and around 50 prompt iterations. But it wasn’t the only thing we were working on. Designing this way lets you work on multiple things in parallel. First, you focus on building an app that lets you experiment quickly and precisely with your idea. Once it’s ready, you can try different options, decide what works, and fine-tune the result.
Alongside the hero, we were also working on Recraft Playground and Recraft Studio Room, using the same approach: displaying the website sections through an iframe in Toolcraft and editing them directly in the website’s code.