Using Toolcraft to design an interactive call to action section directly in an AI company’s website
Build a perspective room with animated image tiles, layered grids, and bold typography.
Start from this app
Run the CLI. Paste the copied command into your terminal.
Name your project. Choose a name, then let the CLI install the app and its dependencies.
Start building. Open the generated project and make it your own.

Our team at Pixel Point was designing a landing page for Recraft’s v4 Styles model. We’ve already covered the project background and our work on the hero section and interactive product demo. Alongside those sections, we were also working on an interactive call to action for the same page.
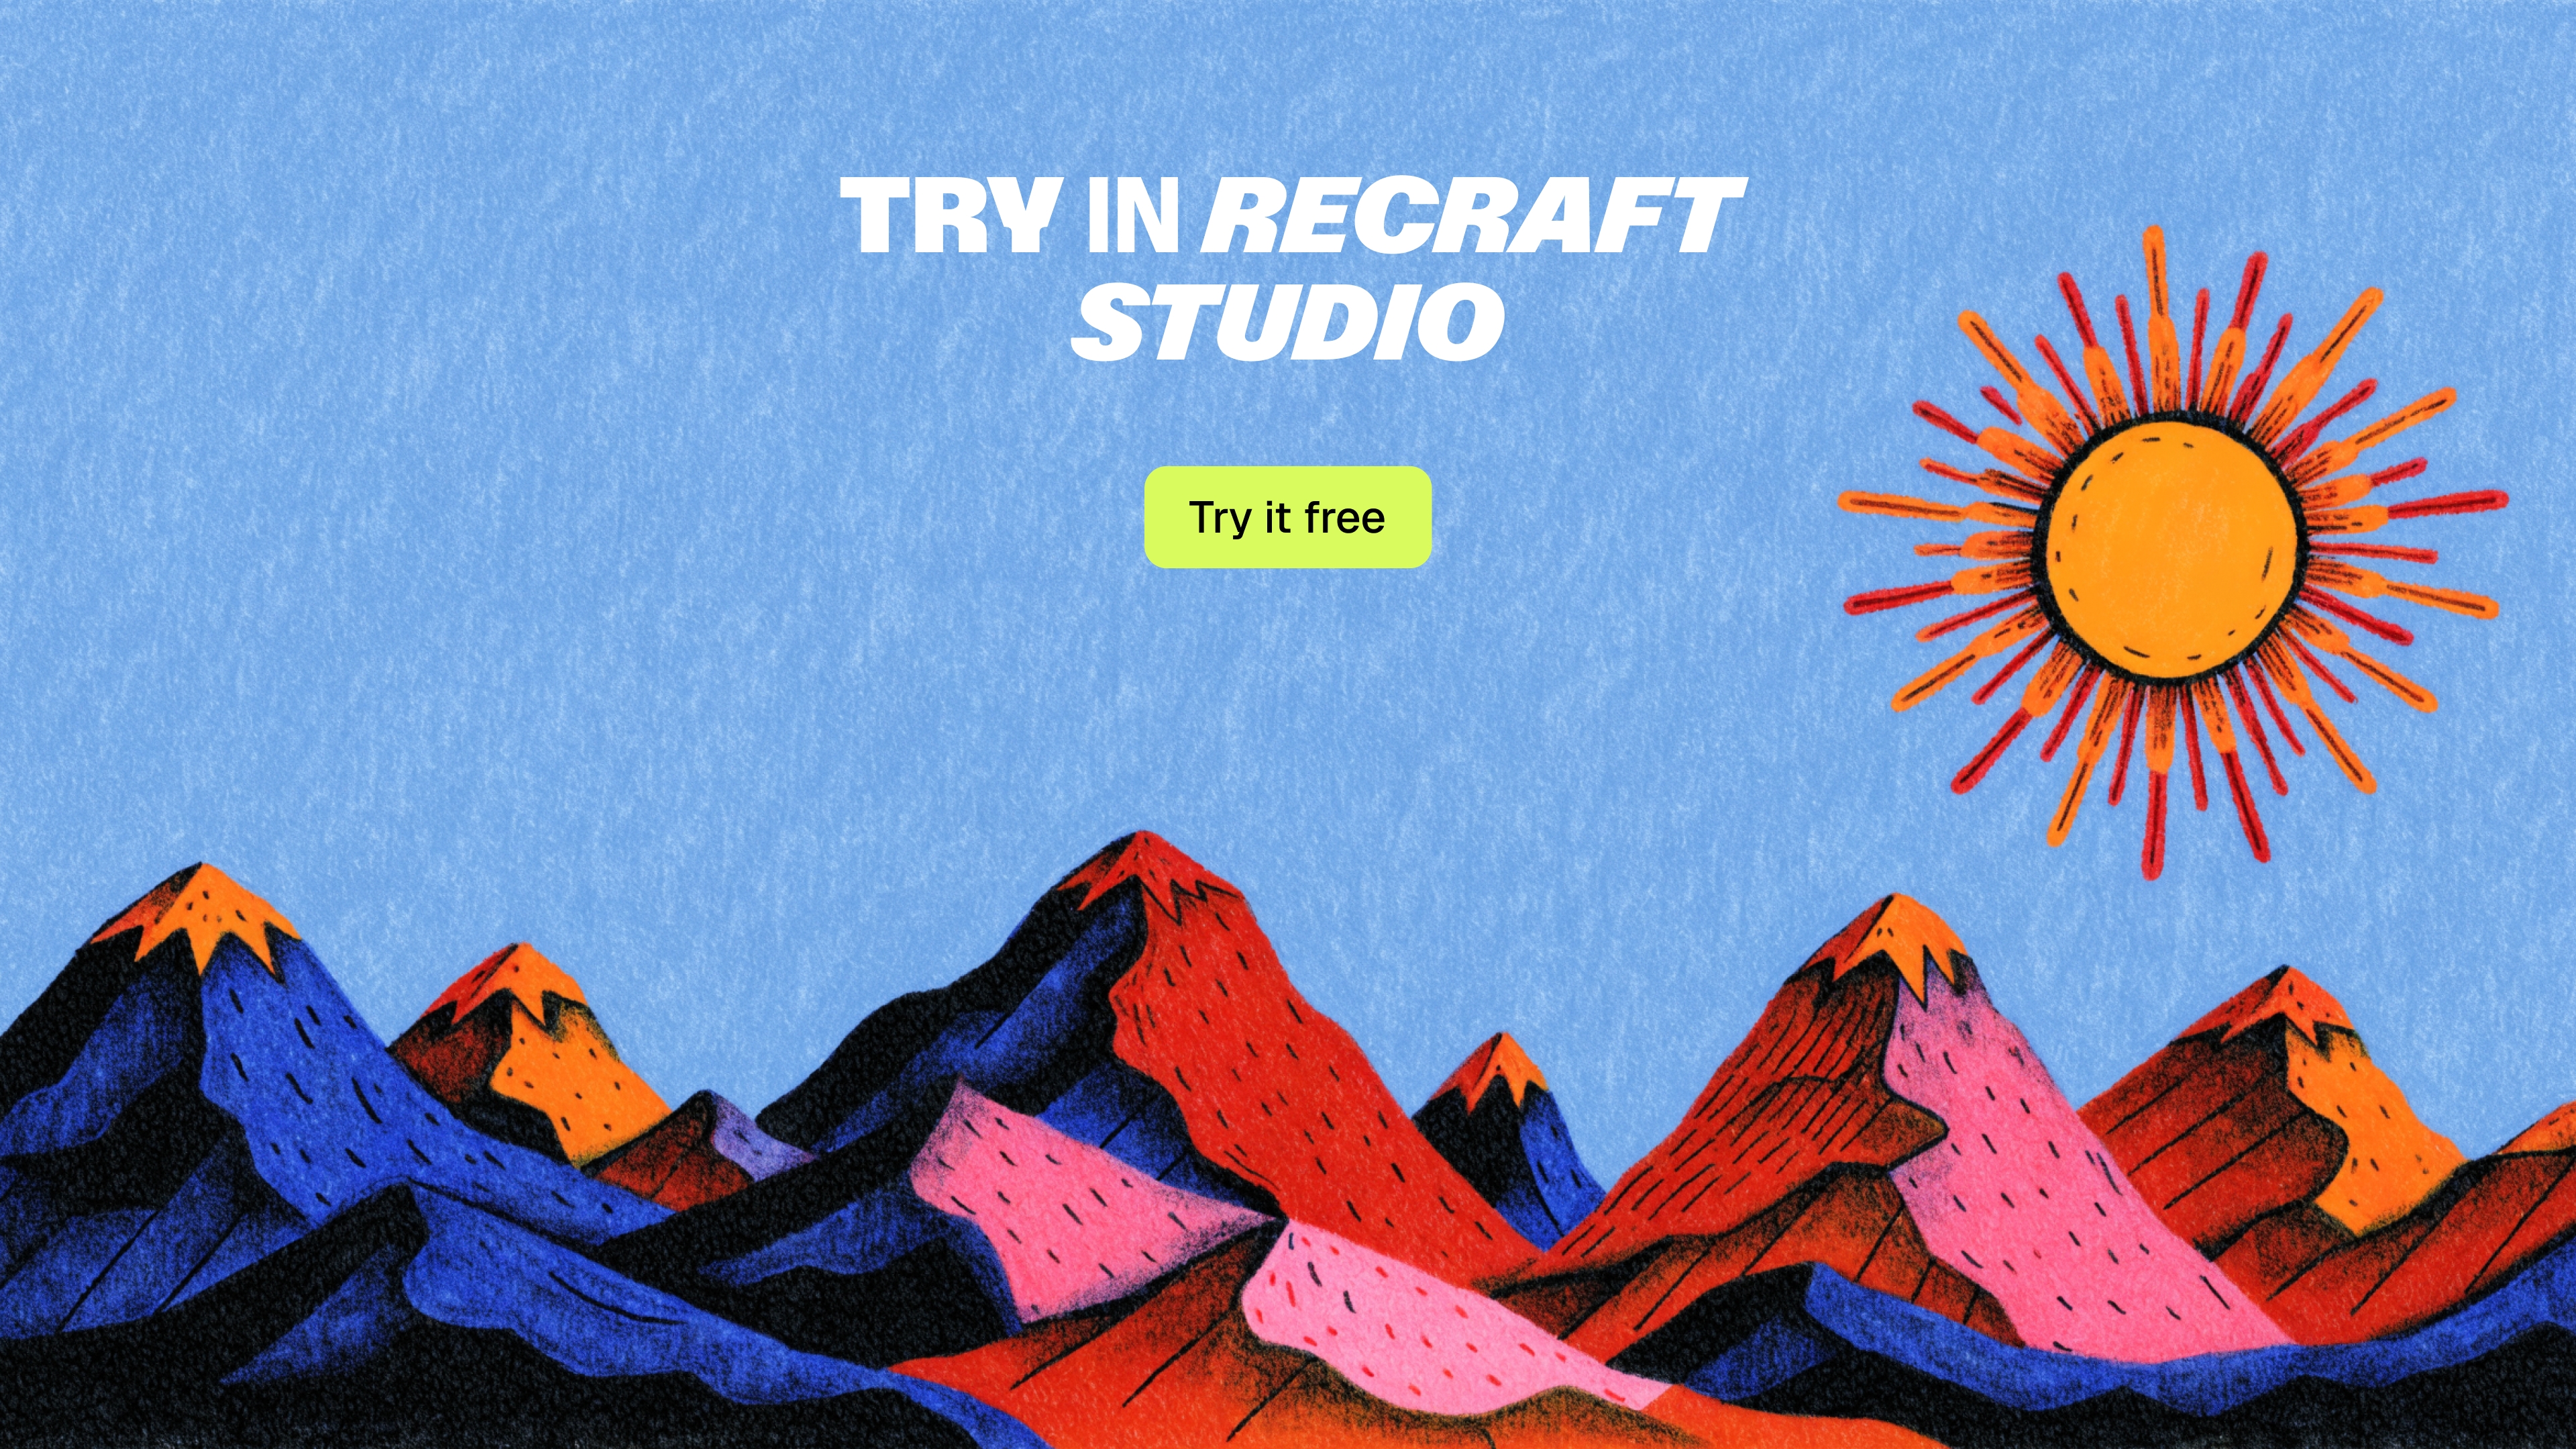
We had several ideas for this section. One was an illustration with a parallax effect. It looked nice, but felt quite boring next to the hero and product demo we’d designed. It also didn’t communicate anything about the new model through the visuals.
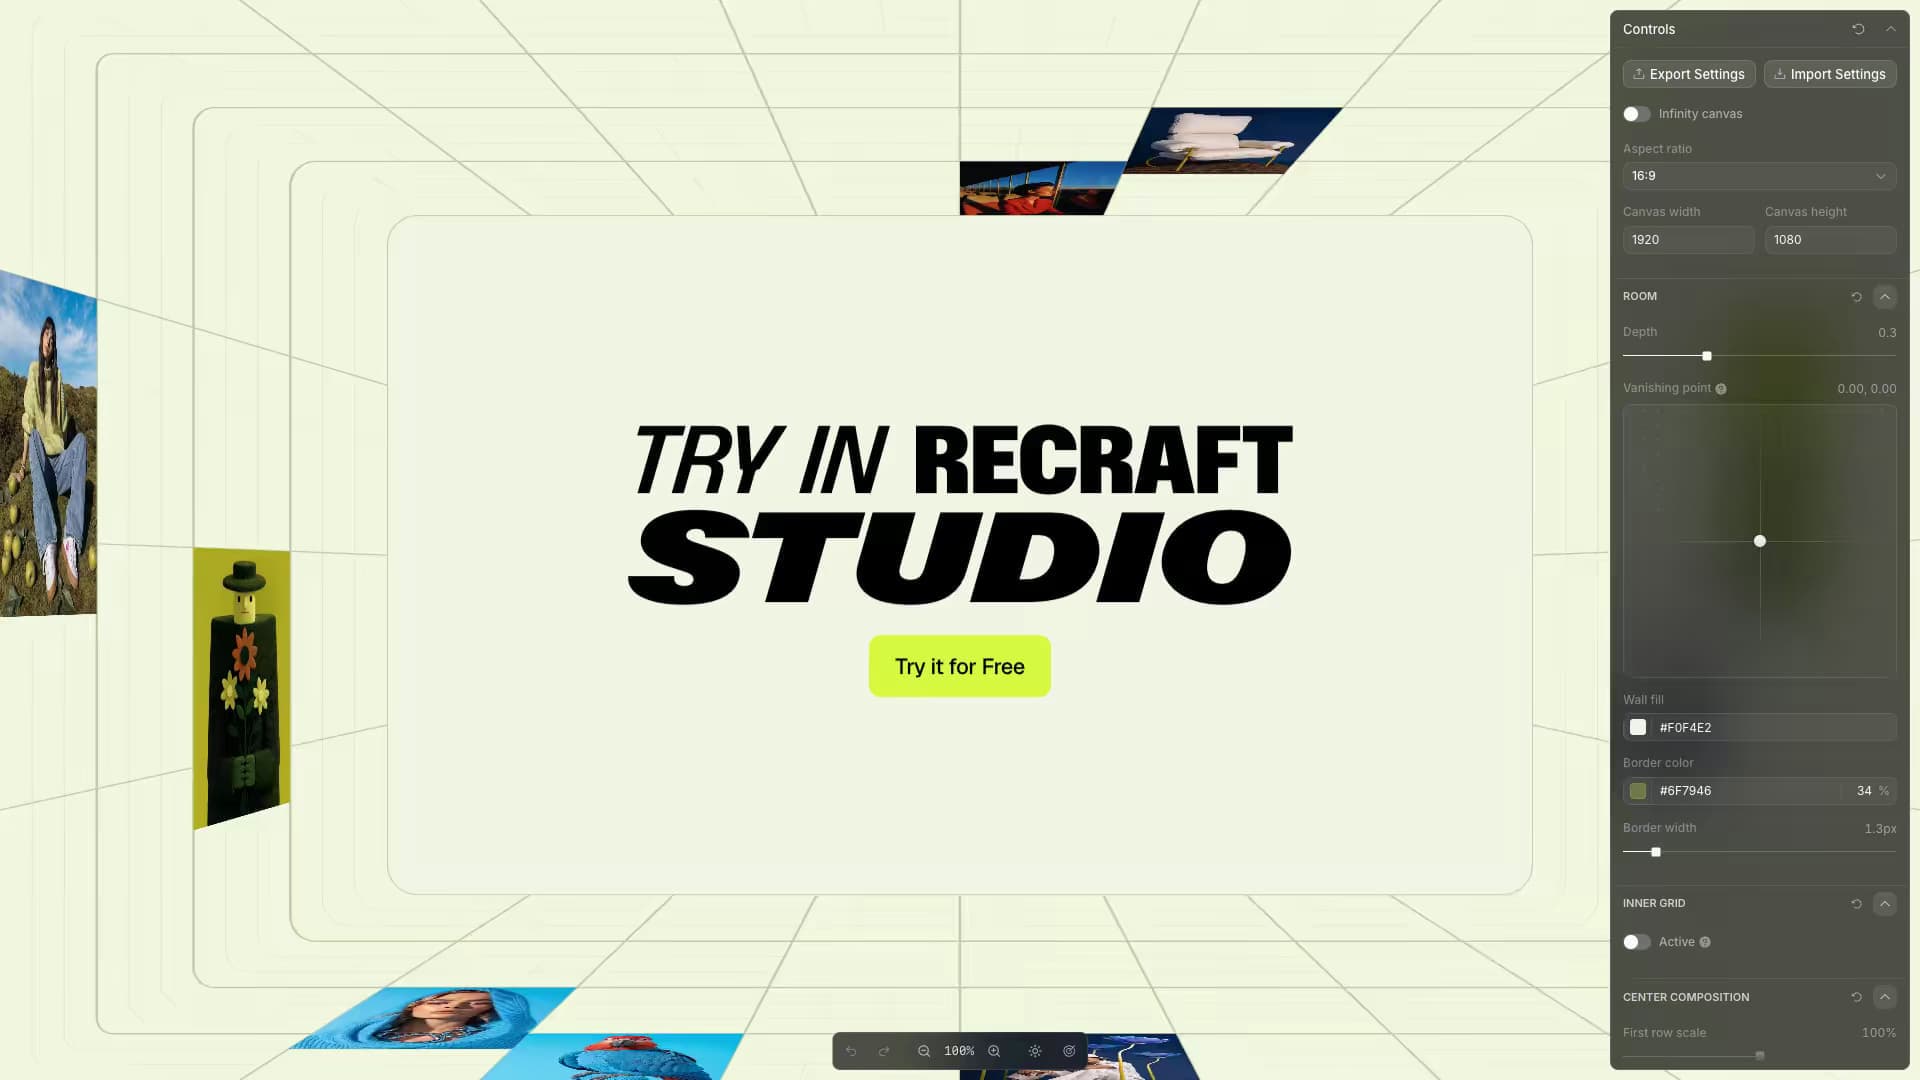
Another idea was a pseudo-3D room made from a perspective grid. Images would fill some of the cells across the walls, floor, and ceiling, with the headline and button in the center. The lines would recede toward the middle, making the images feel like they were arranged around you in a space.
It sounded simple in our heads, but how would you quickly build and experiment with that in Figma? How would you transform every image to fit the perspective of its grid cell, then try a different number of lines or change the cell sizes? We needed custom software to experiment efficiently, so it was clear we’d use Toolcraft again.
We started by creating a new project with the Toolcraft CLI:
Then we followed it with a prompt in Codex:
Initial prompt:
Build an app that lets me design the call to action section of my website. Develop the actual component in the website project at [path to the folder] and display that section through an iframe on Toolcraft’s canvas, with the controls in Toolcraft.
Create a pseudo-3D room made from a perspective grid, with walls, a floor, and a ceiling receding toward the center. Keep the headline and CTA button in the middle. Let me upload a batch of images and place them in cells across the room’s surfaces, automatically transforming each image to match the perspective of its cell.
Make the room respond to mouse movement with parallax, and let the images change over time. I want to experiment with the room’s depth, vanishing point, number of grid lines, cell sizes, image placement, and animation timings.
Think through which other controls would help me experiment with the design and include them. Also add controls for the position, size, and styling of the headline and button, so I can adjust the whole composition together.
With just seven days for the entire landing page, we again chose to develop this section directly in the website project. Toolcraft displayed it through an iframe and provided the controls for our experiments, while the agent made changes in the website’s source files. That let us adjust the design in Toolcraft while building the actual section we would use on the site.
This was a fairly simple app. Codex 5.6-Sol in Extra High mode, with fast mode enabled, got it working very quickly. It took maybe an hour of prompting and reviewing to get the result we wanted, while we worked on other tasks in parallel.
There was no need to transfer the result to the website afterward because it was already there. We’d also asked the agent to add an Apply button that saved our chosen control values directly into the website’s source files. Once we were happy with the design, we clicked Apply to save those settings for the actual section.
This is a great example of how Toolcraft lets you design not just a static image, but an interactive design that’s ready for production. Working directly in the website code saves time and money by removing the need to rebuild the design for production.