Building a mini app to experiment with WebGL dispersion along the edges of a testimonial carousel
The story of how Pixel Point used Toolcraft on a client’s branding and website design project.
Start from this app
Run the CLI. Paste the copied command into your terminal.
Name your project. Choose a name, then let the CLI install the app and its dependencies.
Start building. Open the generated project and make it your own.

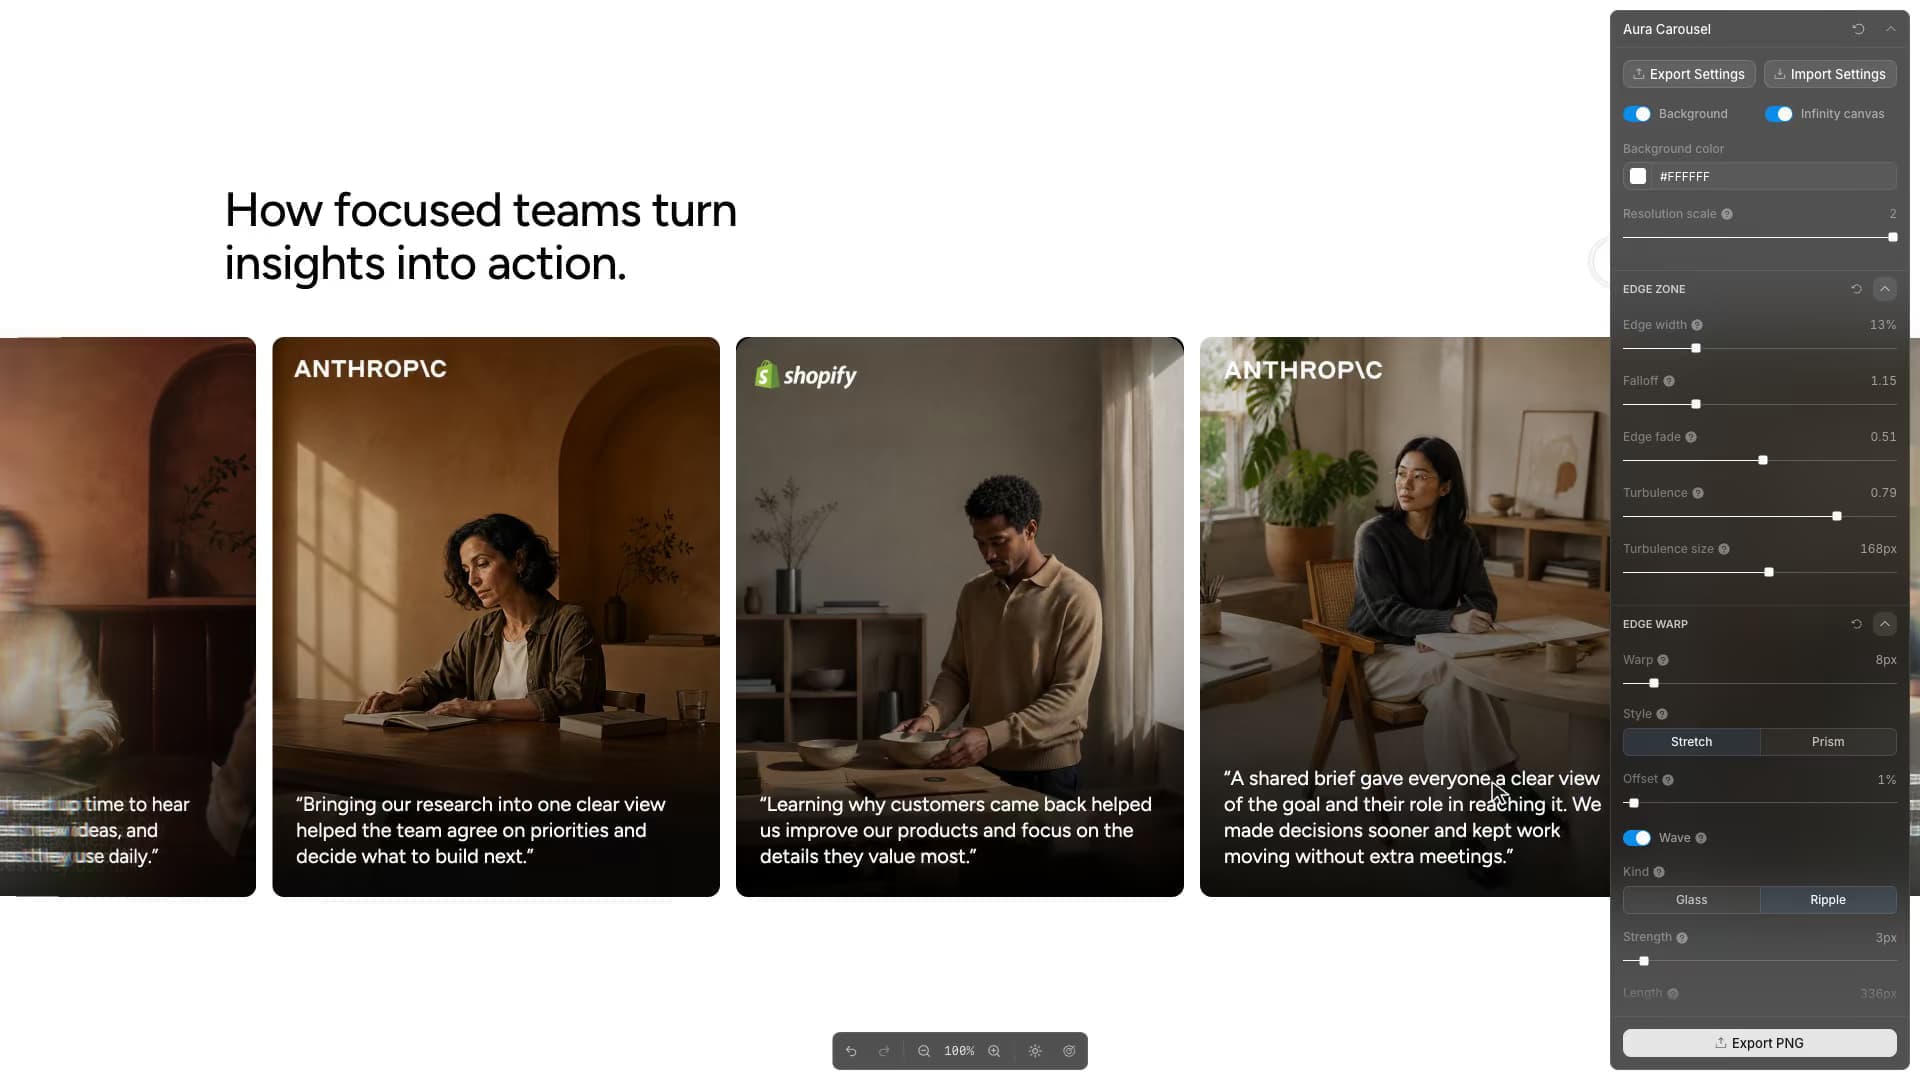
This was part of the same branding and design project at Pixel Point as our light dispersion app. While developing the brand identity, we wanted to carry some of its visual elements into other sections of the website. Testimonials are usually quite boring, so we thought a subtle effect along the edges could make them more interesting, combining progressive blur with light refraction and image warping.
This could have been a good task for Photoshop. Figma wasn’t a good fit. But we wanted to experiment with the visual style and later transfer the result to a real website, so neither option worked for us. We decided to build it with Toolcraft.
We started by creating a new app with the Toolcraft CLI:
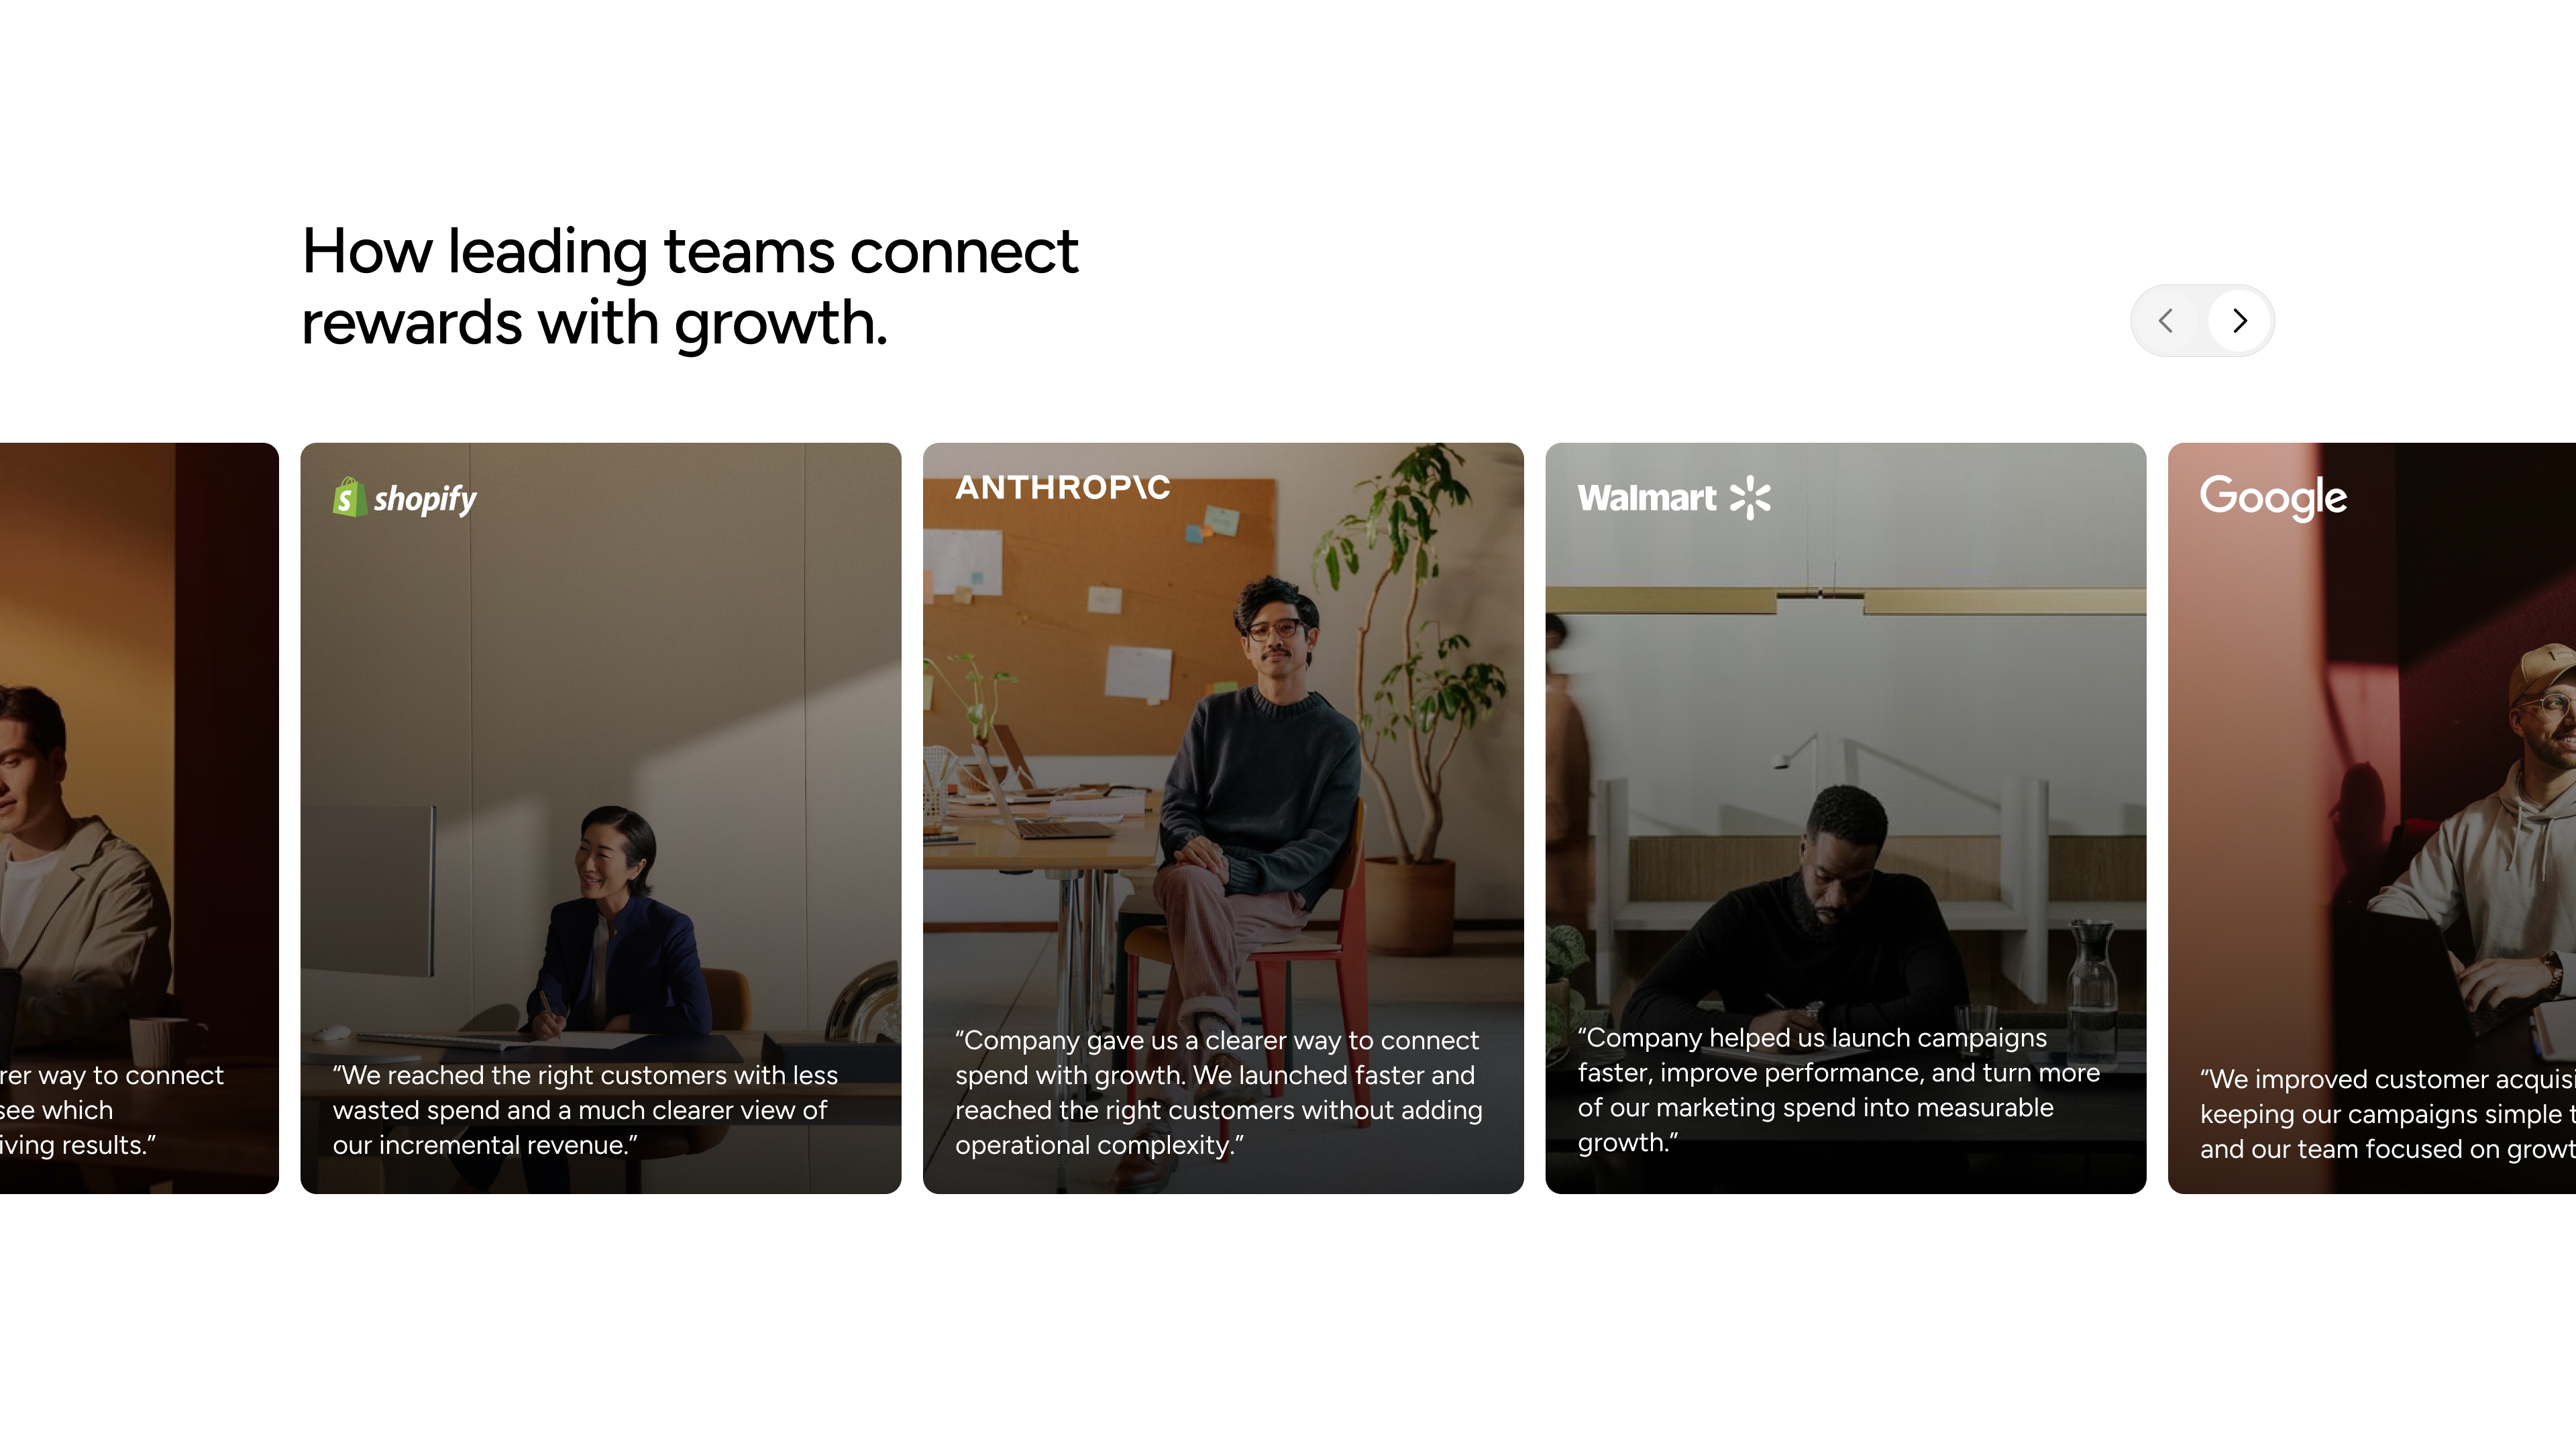
The original layout for the section was already designed in Figma, so we brought it into the app through MCP.
Our initial prompt looked like this:
Initial prompt:
Move this section design from Figma via MCP: [link to Figma]. It’s a testimonial section with an infinite carousel. As I drag, scroll, or use arrows to move it, cards approaching either edge should stretch, blur, split into spectral colors, and dissolve into a stationary glowing aura while the center stays clear. When nothing moves, we still need to see some light refraction or progressive blur. Figure out which controls would be most useful for experimenting with the carousel, edge distortion, refraction, turbulence, glow, and motion.
We used multiple AI agents for this task. The first iteration was built with Codex 5.6-sol in Extra High mode. For the larger iterations that followed, we used Fable 5 for planning and Codex 5.6-sol for implementation.
The app took around a day and a half to build. We kept working on other tasks in parallel, checking in to prompt the AI until we had an app that let us tweak the effect the way we wanted. From there, we could find the right combination of parameters and transfer those settings to the final website.
Toolcraft can export your app’s settings as a JSON file containing the control values. Since the app itself is built in code, you can ask your AI agent to use that source code and the exported settings to bring the effect into your website, adapting it to whatever stack you use.
A prompt for that transfer could look like this:
Transfer prompt:
Transfer the visual effect we’ve built in this app to the testimonials section of the website at [path to a website project]. Use the settings.json file I exported from Toolcraft as the default configuration for the effect.
We were happy with how the effect turned out. It would have taken us much longer to get there in other software.